Time to request to the Amazon SES team to be removed from sandbox and get production access to start sending emails at scale. This article will help you go through this step.
How the sandbox works
To help prevent fraud and abuse, Amazon places all the new Amazon SES accounts into what they call the sandbox. While you are in the sandbox, you have access to all Amazon SES features, but you can only send:
- Emails to verified email addresses and domains (or to the Amazon SES mailbox simulator);
- Up to 200 emails a day;
- No more than 1 email per second.
When you are ready, you can request to leave the Amazon SES sandbox and have those restrictions lifted.
How to know if you are in it
Both Amazon SES and Up will send you signals that your account is in the sandbox.
In Amazon SES
You will see a banner on the top of your screen warning you that your account is on the sandbox. Just click on Request production access to request to be removed from the sandbox.
In Up
You will also see a message on the top of your Up dashboard about the sandbox. The link Request Production access will take you to the same page as the option above.
How to request production access
Here’s how to do it:
1. Go to the Amazon SES console.
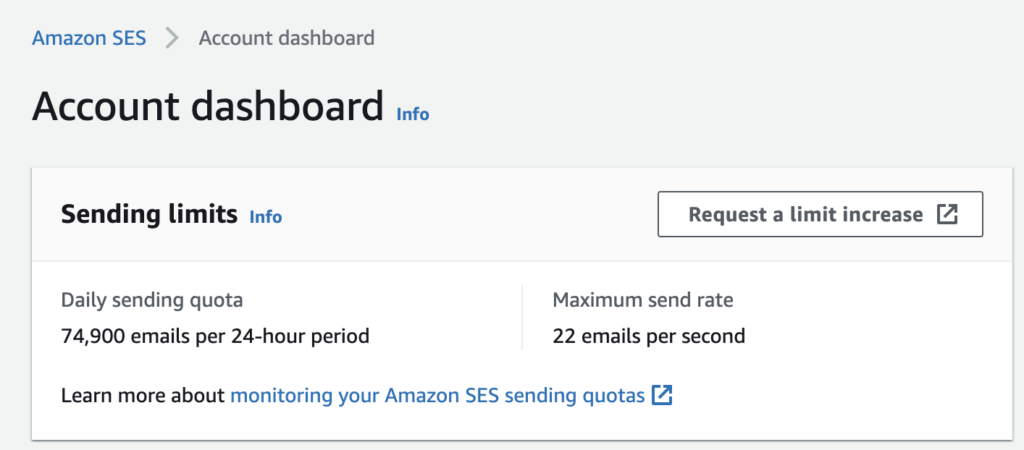
2. Click on account dashboard > sending limits > request a limit increase.

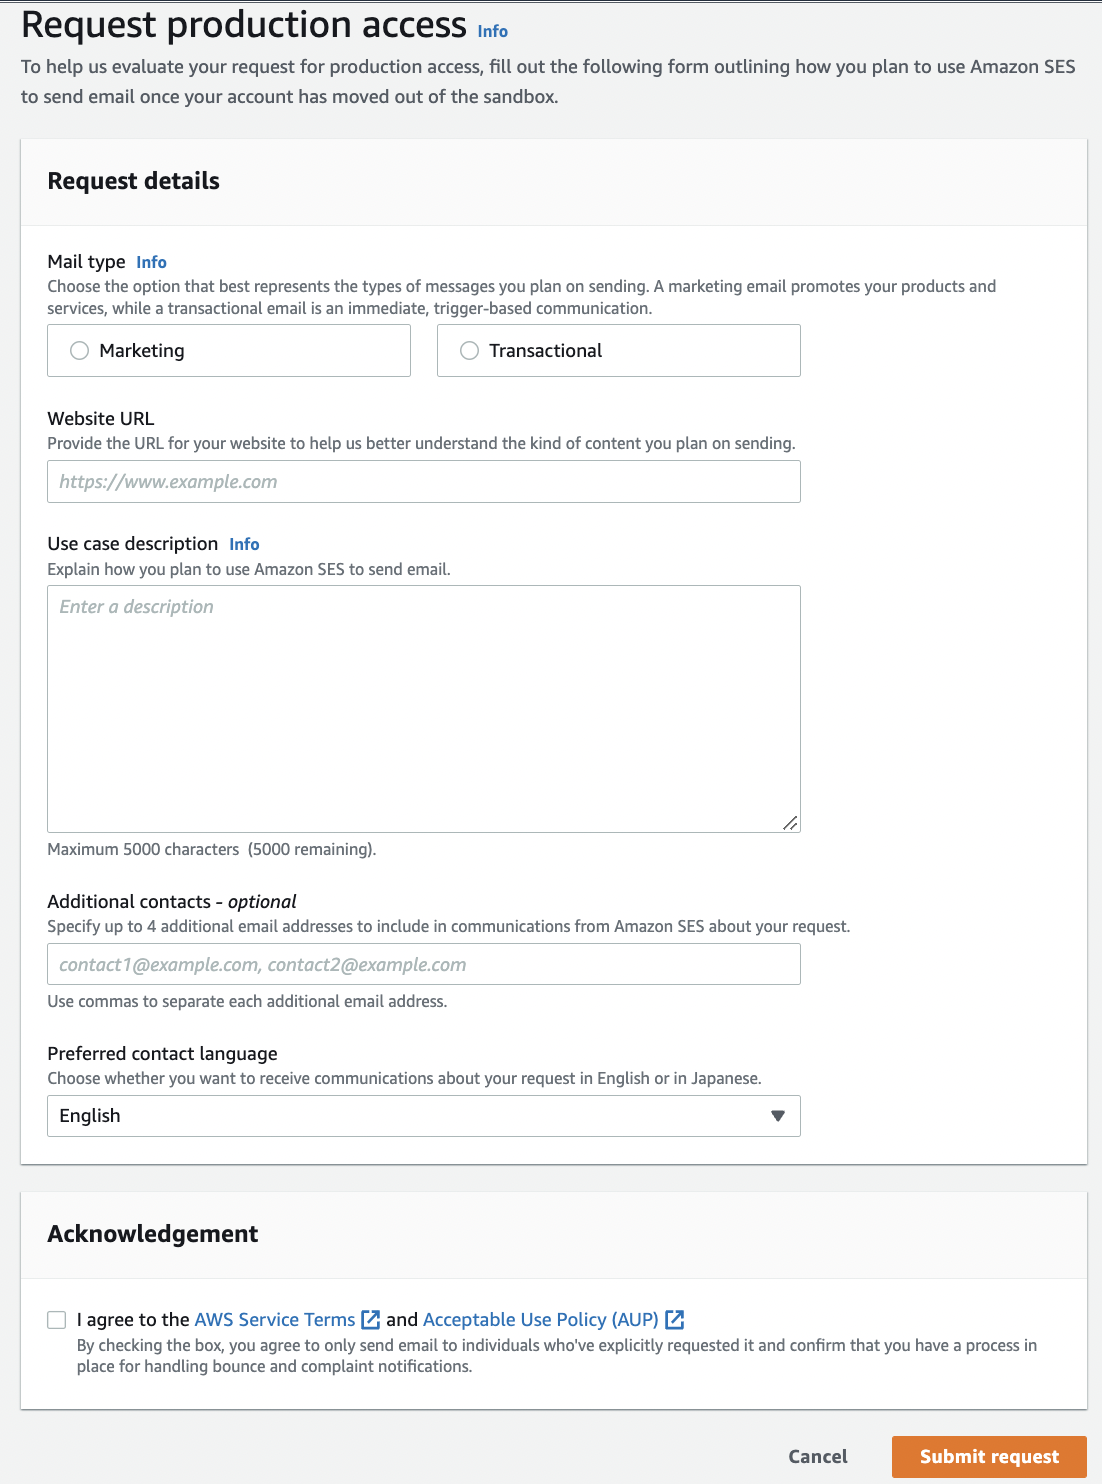
3. Fill out the form with your account details. You will be prompted to specify what you are looking to use Amazon SES for, and how do you plan to build or acquire your mailing lists, among other information.

The AWS team will review your application carefully and provide a confirmation (or request for further information) within 24 hours.
Things to keep in mind
- Production access is given for a specific region, so make sure you select the correct region you want to use on the top right of your screen. For example, you may be granted production access in us-east-1 but not in us-west-1.
- To get production access, your use case needs to be compliant with the AWS Service Terms and Acceptable Use Policy (AUP). Make sure you read them before submitting your application.
Sending a test email
When you have received a confirmation from the Amazon team, it’s time to send test emails to test your account. Sending test emails with Amazon SES is very easy:
- Go to Configuration > Verified Identities.
- Select the email address with which you would like to send a test email (it must be verified) and select Send a Test Email.
- Choose between the two formats – Formatted (for simple messages) or Raw (more complex emails that involve HTML scripts).
- Fill out the rest of the fields and click send. Try sending emails to a non-verified email address to make sure it is working outside the sandbox.
- Check your inbox to see if the test was successful.
Next Steps
Your account is now fully set up! Are you ready to start sending email campaigns? Go to the next article about managing mailing lists with Up.


